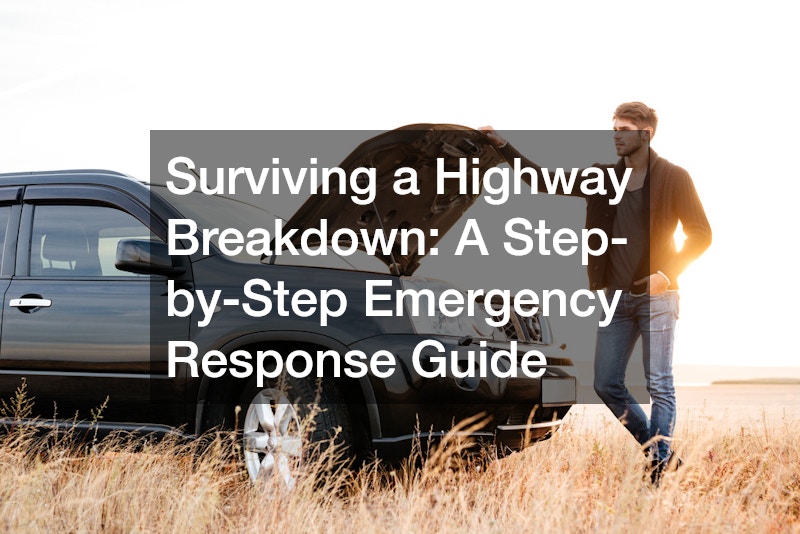
The sudden, heart-pounding realization that your vehicle is losing power, sputtering uncontrollably, or suffering a high-speed tire blowout while cruising at 70 miles per hour surrounded by heavy highway traffic is one of the most stressful experiences a driver can face. In a matter of seconds, a routine commute or cross-country road trip transforms into a high-stakes emergency requiring immediate, decisive action.
Highway shoulders are inherently dangerous environments. High-speed traffic passing just inches away, distracted drivers drifting across lane lines, limited spatial clearance, and poor visibility create significant risks for stranded motorists. Under these conditions, panic is your greatest enemy. Impulsive decisions—such as slamming on the brakes in active traffic lanes or stepping out into oncoming traffic—can lead to severe secondary collisions.
Preparedness turns a potential disaster into a manageable, controlled situation. Having a clear, step-by-step emergency playbook allows you to react instinctively, protecting yourself, your passengers, and your vehicle. This comprehensive guide walks you through every phase of a roadside emergency: from initial crisis maneuvering and shoulder safety protocols to securing professional dispatch recovery and evaluating post-breakdown vehicle repair options.
Recognize Critical Failure Symptoms and Signal Immediately

Vehicles rarely fail without warning signs. Recognizing mechanical distress early gives you precious seconds to plan your exit across traffic lanes before losing power steering or braking assistance.
-
Loss of Throttle Response: The engine RPM drops or surges uncontrollably, and pressing the accelerator pedal fails to maintain vehicle speed.
-
Unusual Steering or Suspension Feedback: Severe vibration in the steering wheel, heavy pulling to one side, or a rhythmic thumping sound indicates a tire blowout or tread separation.
-
Dashboard Warning Lights and Temperature Spikes: The check engine light flashes rapidly, the oil pressure warning light illuminates, or the engine temperature gauge pegs into the red zone.
-
Audible Mechanical Clatter or Steam: Loud metallic knocking under the hood or thick white steam billowing from the engine compartment indicates severe cooling system or mechanical component failure.
The moment you detect a critical issue, activate your hazard warning lights immediately. This alerts surrounding drivers that your vehicle is experiencing an emergency, prompting them to give you space or adjust their speed before you begin changing lanes. Resist the urge to slam on the brakes; sudden braking in active high-speed lanes drastically increases the risk of being rear-ended by trailing traffic. Instead, maintain control, coast, and use smooth brake pressure to gradually shed speed.
Guide the Vehicle to the Safest Available Shoulder or Exit
Choosing where to bring your disabled vehicle to a complete stop is a decision that impacts your safety while waiting for assistance. Not all stopping locations offer equal protection.
-
Prioritize the Right-Side Shoulder: Whenever possible, steer toward the right-hand shoulder or emergency turnout. Right-side shoulders typically provide wider paved clearances, better visibility, and safer access away from fast-moving left-lane traffic.
-
Take Nearby Exits: If your vehicle retains coasting momentum and an off-ramp is immediately accessible, exit the highway entirely to reach a parking lot, gas station, or side street.
-
Avoid Left-Lane Medians: Stopping on a narrow left-lane median strip places your vehicle between fast-moving express lanes and a concrete barrier, leaving virtually zero escape clearance if another driver drifts off course.
If you are towing a heavy trailer or driving a loaded work vehicle, maneuvering across multiple lanes requires specialized preparation. Verifying that your auxiliary trailer brake controller is properly calibrated alongside a heavy-duty truck hitch setup ensures the trailer tracks straight during emergency deceleration, preventing jackknifing on slick shoulder asphalt.
Additionally, equipping commercial utility vehicles with specialized truck equipment—such as auxiliary strobe lighting packages or high-visibility reflective striping—provides trailing drivers with immediate notice during rapid, unexpected lane transitions.
Maximize Visibility with Emergency Lighting and Reflectors
A stopped vehicle on a highway shoulder can blend into the background, particularly at night, during heavy rain, or around sweeping highway curves. Establishing clear visual warnings gives oncoming drivers ample time to adjust their lane position.
-
Deploy Triangular Warning Reflectors: Place three reflective triangles behind your vehicle to give approaching traffic early warning. Place the first triangle 10 feet behind the vehicle on the shoulder side, the second 100 feet back in line with the center of the vehicle, and the third 200 feet back to give high-speed drivers early notice.
-
Use LED Road Flares: In low-light or foggy conditions, place electronic LED flares along the outer edge of the shoulder to define your vehicle’s physical clearance zone clearly.
-
Maintain Vehicle Lighting: Leave your hazard lights flashing continuously. Keep low-beam headlights active at night so passing drivers can easily gauge your vehicle’s position.
Commercial drivers and fleet operators should keep utility-grade truck accessories—such as collapsible safety cones, high-output LED work lights, and reflective safety vests—stored in easily accessible cab compartments rather than buried under heavy bed cargo, ensuring fast deployment during unexpected roadside stoppages.
Make the Critical Decision: Stay Inside or Exit to Safety?
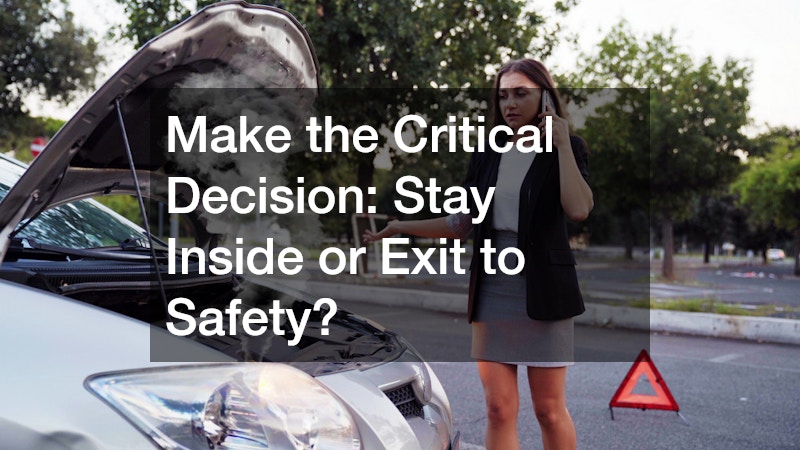
One of the most dangerous decisions a driver can make during a highway breakdown is stepping out of the vehicle onto a narrow shoulder with active high-speed traffic passing nearby.
-
When to Stay Inside the Vehicle: If your vehicle is parked on a narrow shoulder with traffic passing close to the driver’s side, stay inside with your seatbelt securely fastened. A 4,000-pound steel vehicle frame, combined with modern airbags and seatbelts, provides significant structural protection if a passing car clips your vehicle.
-
When to Exit the Vehicle: Exit the vehicle only if there is a wide, sturdy guardrail or high embankment to stand behind, well away from the road surface, or if you detect smoke, fire, or fuel leaks.
-
Always Exit Through the Passenger Side: If you must leave the cabin, crawl across the center console and exit through the passenger-side doors. Never open a door directly into active traffic lanes.
Communicate Exact Location and Breakdown Details to Dispatchers
When calling for assistance, providing vague location details like “somewhere on Interstate 80” delays emergency response teams. Modern highways are vast, and dispatchers need precise geographic markers.
-
Identify Mile Markers and Exit Numbers: Look for small reference location markers along the shoulder or identify the nearest exit sign, overpass, or mile marker post.
-
Specify Direction of Travel: Clearly state whether you are traveling northbound, southbound, eastbound, or westbound, as median barriers often prevent recovery trucks from crossing over easily.
-
Describe Surrounding Terrain and Landmarks: Note prominent physical features, such as nearby bridges, rest stops, cellular towers, or geographic landmarks.
-
State the Number of Occupants and Special Needs: Inform the dispatcher if you have small children, elderly passengers, pets, or individuals requiring medical attention stranded with you.
Saving contact details for a reliable 24 hour towing service in your mobile phone prior to setting out on long road trips ensures you won’t be left searching blindly through search engines with weak cellular signal on a rural highway.
Furthermore, confirming that your selected towing company utilizes GPS-tracked recovery fleets allows dispatchers to provide accurate estimated arrival times and send real-time driver tracking links directly to your smartphone while you wait in high-stress traffic zones.
Prepare the Vehicle for Towing Operations
While waiting for the recovery truck to arrive, perform basic preparations inside the cabin to ensure a swift, safe loading process once the tow operator reaches your location.
-
Gather Important Documents: Retrieve your driver’s license, vehicle registration, insurance cards, and personal valuables so you are prepared to transfer to the operator’s cab if necessary.
-
Set the Steering Wheel and Transmission: Unless directed otherwise by the tow operator, keep the front wheels pointed straight ahead and leave the transmission in Park (or in gear for manual transmissions) with the parking brake engaged until the recovery rigging is attached.
-
Clear the Vehicle Surroundings: Ensure no loose items, tools, or clothing are blocking the vehicle’s tow hooks or tie-down points beneath the front and rear bumpers.
Manage Heavy Transport Failures and Hazardous Cargo Clearances
When a commercial semi-truck suffers a catastrophic mechanical failure—such as a sudden air brake lockup, blown dual tires, or a seized drive axle—the vehicle often becomes immobilized directly in active lanes or across narrow shoulders.
-
Air Brake Failure Protocols: If an air line ruptures, spring-loaded parking brakes engage automatically, locking the drive wheels. Commercial operators must understand how to cage brake chambers or connect external air lines to move the rig out of active traffic.
-
Expanded Safety Perimeters: Because of a commercial trailer’s massive profile, drivers must extend warning triangle distances significantly—placing the furthest marker up to 500 feet back on undivided highways or sweeping curves to give trailing freight haulers adequate stopping distance.
-
Cargo Security Inspections: Operators transporting liquid bulk or hazardous materials must inspect tank valves, tie-downs, and containment envelopes immediately to ensure structural integrity hasn’t been compromised by frame twisting or tire debris.
When an overloaded freight vehicle or heavy work truck experiences total drive-train failure, standard wheel-lift tow trucks are insufficient. Dispatchers must coordinate specialized semi truck towing units equipped with heavy-duty rotators, under-reach lift arms, and high-capacity pneumatic winches capable of securing and towing up to 80,000 pounds without causing structural frame damage.
Evaluate On-Site Mobile Repair vs. Terminal Transport
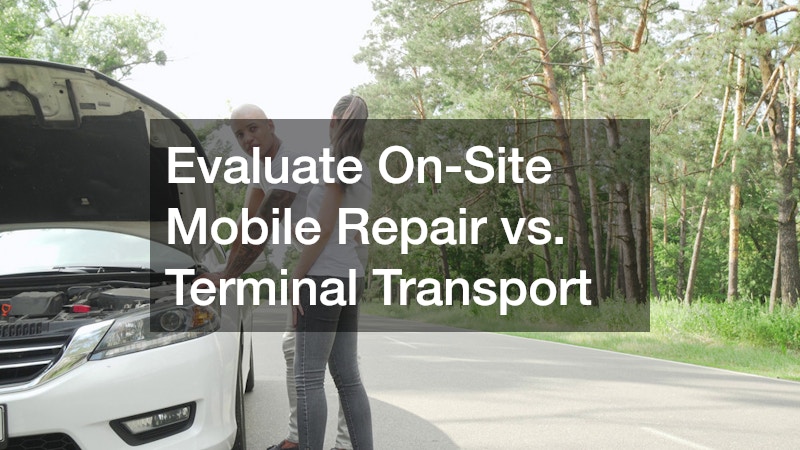
Not every commercial breakdown requires a long-distance tow to a service bay. Evaluating whether an issue can be resolved on-site minimizes downtime and reduces transport expenses.
-
Mobile Service Suitability: Minor air hose ruptures, single dual-tire blowouts, blown fuses, and simple sensor failures can often be repaired safely on wide shoulders by mobile service trucks.
-
Mandatory Terminal Towing: Major internal engine failures, shattered transmissions, cracked frame rails, or severe steering linkage failures require immediate transport to a fully equipped commercial repair facility.
-
Secondary Traffic Hazards: If an on-site mobile repair cannot be completed within 60 to 90 minutes, safety regulations often dictate towing the rig to a secure yard to eliminate long-term shoulder hazards.
Assess Repair Viability Against Current Vehicle Market Value
Receiving a high repair estimate following an engine failure, transmission failure, or major mechanical breakdown requires a clear financial assessment rather than an emotional reaction.
When faced with extensive engine or transmission replacement costs, schedule a comprehensive evaluation with certified vehicle repair services to receive an itemized breakdown of OEM parts, labor hours, and shop diagnostic fees.
If diagnostic quotes reveal catastrophic damage where repairs exceed 70% of the vehicle’s fair market value, sinking additional capital into the structure is rarely financially prudent. In these scenarios, contacting licensed services that offer cash for junk car pickup allows you to liquidate the non-running asset, avoid storage fees, and recover equity to put toward a reliable replacement vehicle.
Restore Exterior Aesthetics and Protective Envelopes After Collisions
Highway breakdowns often cause secondary cosmetic or structural damage. High-speed tire blowouts can shred wheel-well liners and dent exterior quarter panels, while minor shoulder scrapes against guardrails damage paint, trim, and light assemblies.
-
Structural Frame and Panel Realignment: Severe impacts require precision frame measuring equipment to ensure suspension mounting points and crush zones are restored to factory safety specifications.
-
Moisture Seal Integrity: Damaged body panels, cracked headlight housings, and misaligned trunk lids must be repaired promptly to prevent water from entering body cavities, which leads to hidden rust and electrical shorts.
-
Paint and Finish Protection: Freshly repaired body panels require durable clear coats or protective coatings to shield raw sheet metal from corrosion and UV degradation.
Collaborating with certified body shops that specialize in structural frame alignment and precision auto body repairs ensures that your vehicle’s structural safety envelope is completely restored after a roadside accident.
For commercial fleet operators, service vans, or custom transport rigs, applying professional auto wraps over newly repaired body panels restores brand graphics, matches existing fleet aesthetic standards, and provides an additional layer of chip-resistant protection over fresh paint.
Essential Vehicle Emergency Kit Checklist
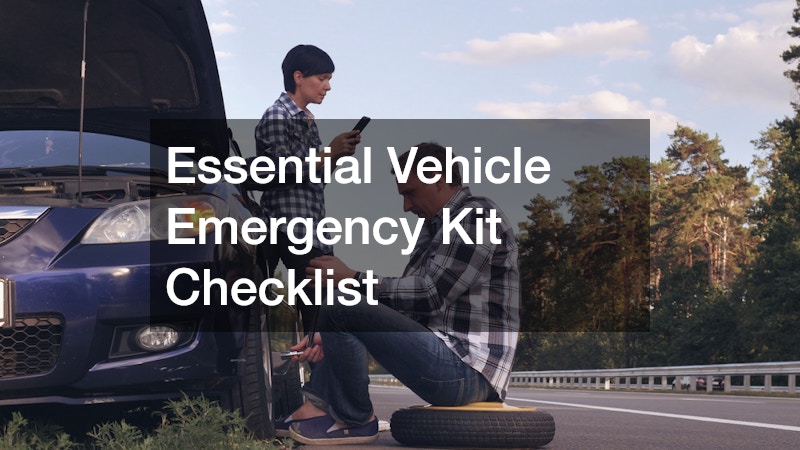
-
High-Visibility Safety Gear: Reflective safety vests, collapsible LED warning triangles, and electronic road flares.
-
Portable Power & Lighting: A high-lumen LED flashlight with spare batteries, along with a charged portable jump-starter power bank.
-
Basic Mechanical Tools: A socket set, screwdrivers, pliers, duct tape, tire pressure gauge, and heavy-duty zip ties.
-
Tire Service Equipment: A fully inflated spare tire, hydraulic bottle jack, lug wrench, and breaker bar.
-
Personal Comfort & Safety: Bottled drinking water, non-perishable food bars, warm thermal blankets, first-aid kit, and work gloves.
-
Critical Contacts & Documents: Printed roadside assistance numbers, towing contacts, insurance documentation, and vehicle registration.
Take time this week to inspect your vehicle’s emergency kit, verify that your spare tire is inflated to proper operating pressure, and store your preferred roadside assistance details in your phone. Being prepared keeps you in control, protecting both your safety and your vehicle on every journey.